Decide What a Video Filter Should Change
Video filters apply a visual treatment to existing footage. A preset may change color, contrast, texture or an effect, but the useful choice begins with the scene's purpose. Decide whether the video should feel calm, nostalgic, bright or deliberately stylized before browsing looks.
Keep correction and creative treatment distinct. A clip with an unintended color cast may need balancing before a strong look is added. Applying a dramatic preset can hide the source problem while making it harder to match neighboring shots.
MOVO's input above develops an original visual direction. It does not apply a filter to an uploaded file or promise a particular editor's preset. Use suitable finishing controls when exact processing settings matter.
Start With a Representative Scene
Test on footage containing the colors and details that matter to the project. Faces, white objects, product colors and dark backgrounds can reveal different problems. A look that flatters one landscape may distort a person's skin or make a label unreadable.
Keep the source visible for comparison and adjust strength deliberately where the chosen tool permits it. More contrast or saturation is not automatically a clearer image. Look for the point where the treatment supports the message without overwhelming important information.
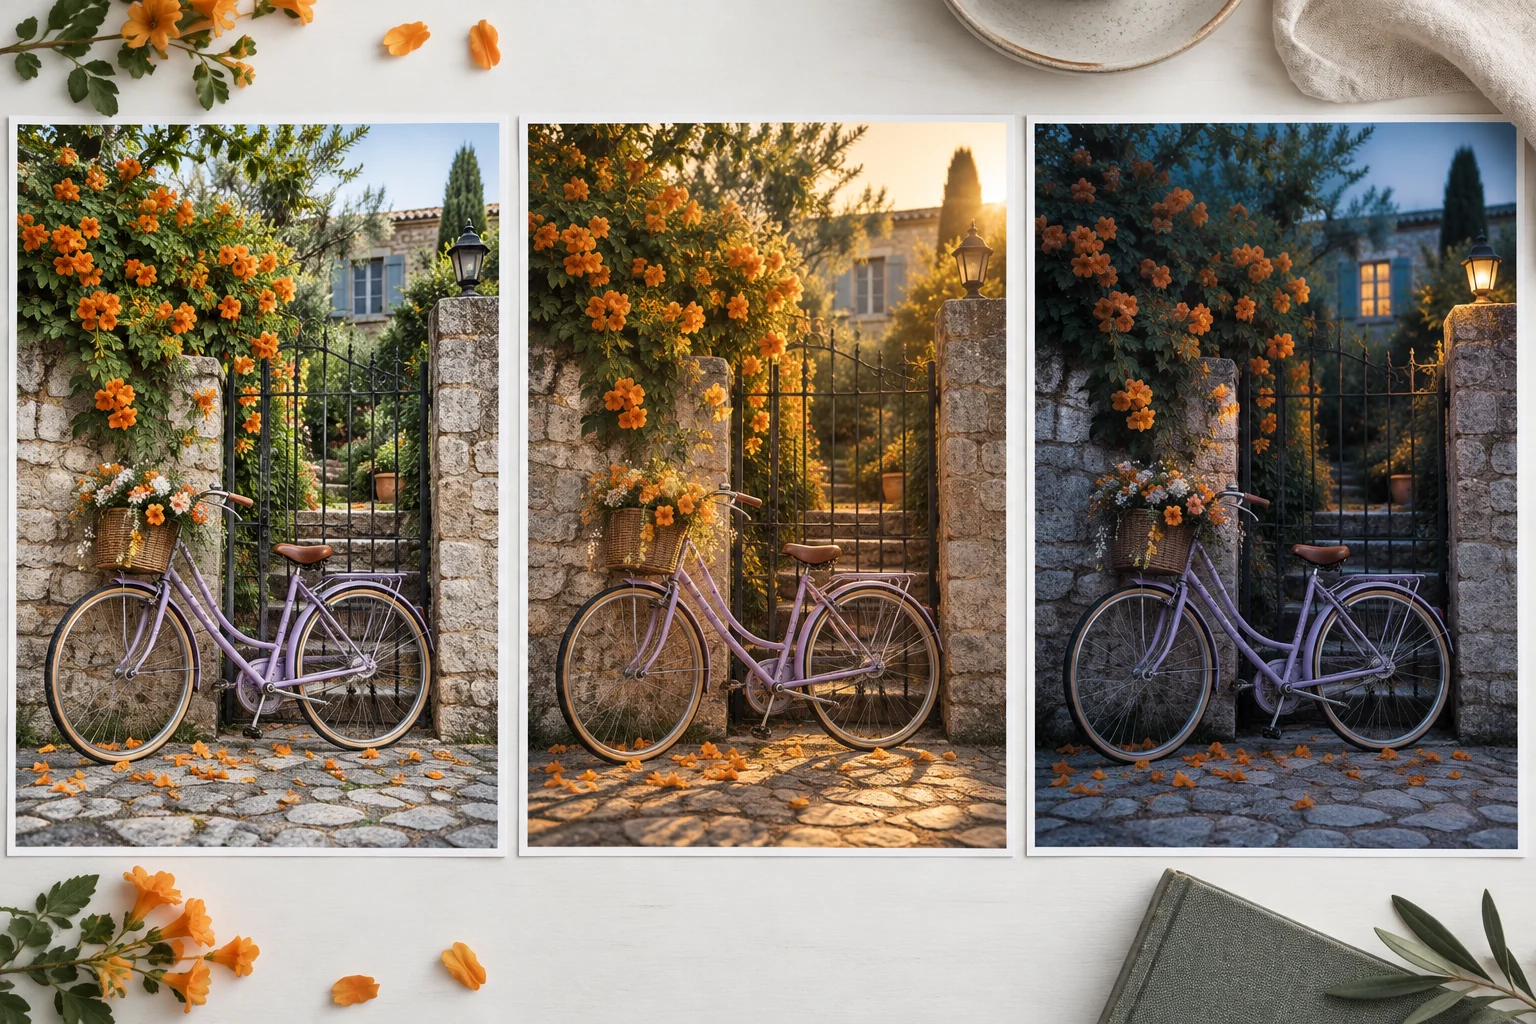
For an original bicycle beside a garden gate, compare how the lavender frame and amber flowers read in neutral, warm and cool versions. The decision should serve the intended atmosphere while keeping the object and action understandable.
Review Moving Detail and Shot Matching
Watch the entire passage after applying the treatment. Grain, glow and glitch-style effects can behave differently in motion than in a paused frame. Check moving edges and changing light rather than accepting a single attractive thumbnail.
Compare adjacent shots in sequence. The same preset does not guarantee the same appearance when exposure and lighting differ between sources. A cut can feel abrupt if the treatment pushes one scene much further than the next.
Use suitable color and editing controls to balance the sequence where necessary. Keep the chosen look consistent with deliberate changes in place or time. Consistency does not require every scene to have identical brightness regardless of context.
Use the External Filter Editor for Its Controls
VEED's video filters page describes preset looks, adjustment and export in its own editor. Review current media support and output conditions there. The external filter catalog is not part of the MOVO entry on this page.
Save a short test and inspect the actual file. Compression and destination playback can affect fine texture or dark gradients. Keep useful filter settings with the accepted edit rather than relying only on memory of the preview.
The bicycle scene studies here are original conceptual artwork. They illustrate different moods, not measured outputs from a filter engine or a claim that a preset preserves every object color exactly.
Keep Essential Information Readable
Check captions, faces and important objects after treatment. A stylized dark scene can become difficult to understand on a small display, and a strong color shift can change the impression of a product. Evaluate those details against the actual purpose of the video.
Add exact captions and factual graphics with appropriate controls. If they are included before the treatment, inspect their final contrast and color; if added afterward, check that they fit the scene without losing readability.
Avoid using an effect as a substitute for an unresolved story problem. A confusing action remains confusing under a stronger look. Resolve framing, pacing or source quality where possible before intensifying the treatment.
Plan an Original Look With MOVO
Describe the intended lighting, palette and atmosphere in MOVO alongside the subject and action. Concrete visual direction gives a scene a clearer starting point than a request to make everything cinematic without further detail.
Review a representative generated clip before expanding the sequence. Keep approved references and note the important visual relationships. Use appropriate finishing tools for a precise final grade or filter pass after the creative material is accepted.
Watch the complete export at its intended size and compare important scenes on another display where practical. Retain a clean master and the finishing settings so future versions do not require stacking another filter onto an already processed copy.
Frequently Asked Questions
Does this entry apply a video filter?
No. It starts an original scene brief; use a suitable editor for exact filter processing.
Is a stronger filter always better?
No. Choose a level that supports mood while preserving important detail and readability.
Will one preset match every shot?
Not automatically. Different source lighting and exposure can require balancing.
Why inspect motion after adding an effect?
Texture, glow or distortion may behave differently over a full clip than in a still preview.
Are the scene studies filter benchmarks?
No. They are original conceptual illustrations of different moods.
Should I keep a clean source?
Yes. Retain the original and useful finishing settings for later revisions.